What to do if the tattoo stencil fades?
How to address a common issue in tattooing
18 January 2024
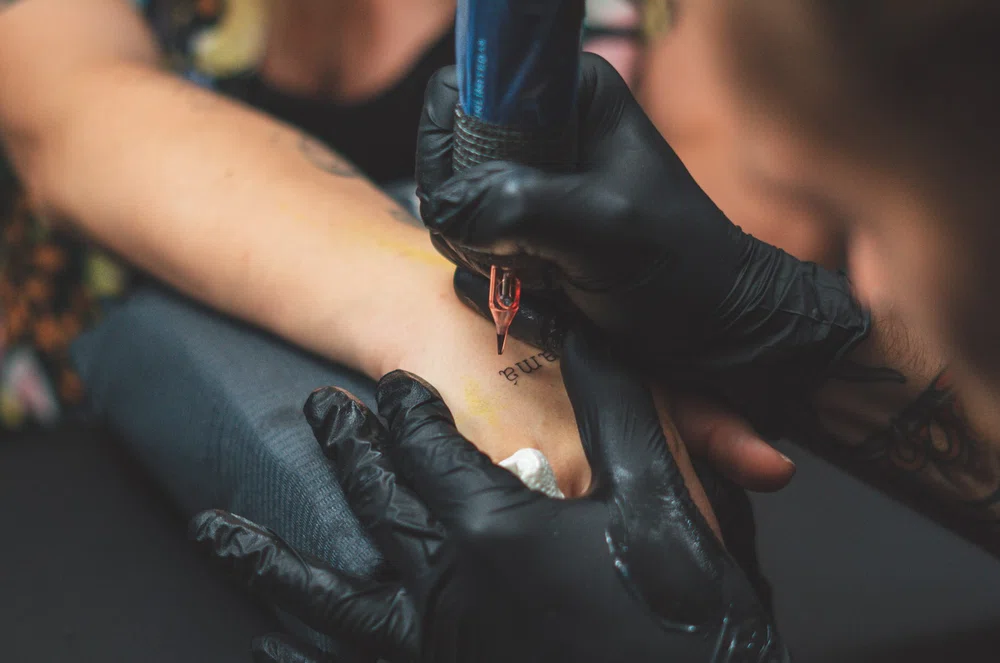
You're starting to tattoo, the stencil is already on the client's skin, everything seems fantastic, and you're feeling confident – the tattoo is yours!
Suddenly, you start noticing that the stencil is becoming less visible. As you clean, it keeps disappearing, and in some areas, you can barely see it.
In the midst of the session! What to do?
It's natural to feel anxious, like almost panicking, but fear not! In this article, we'll uncover the main reasons why a stencil fades.
And if you stick to the end, you'll also learn how to solve it step by step.
USES OF A TATTOO STENCIL
If you're here for solutions, it's because you already know what a stencil is. Still, let's quickly review the specifics of this material to understand how to tackle the problems.
The stencil is the essential guide for the entire tattooing process. Without it, the tattoo wouldn't work.
How you work with it depends on the tattoo stencil method you use, whether manual, digital, or FreeHand.
Some argue that the digital method speeds up work and helps achieve more precise finishes.
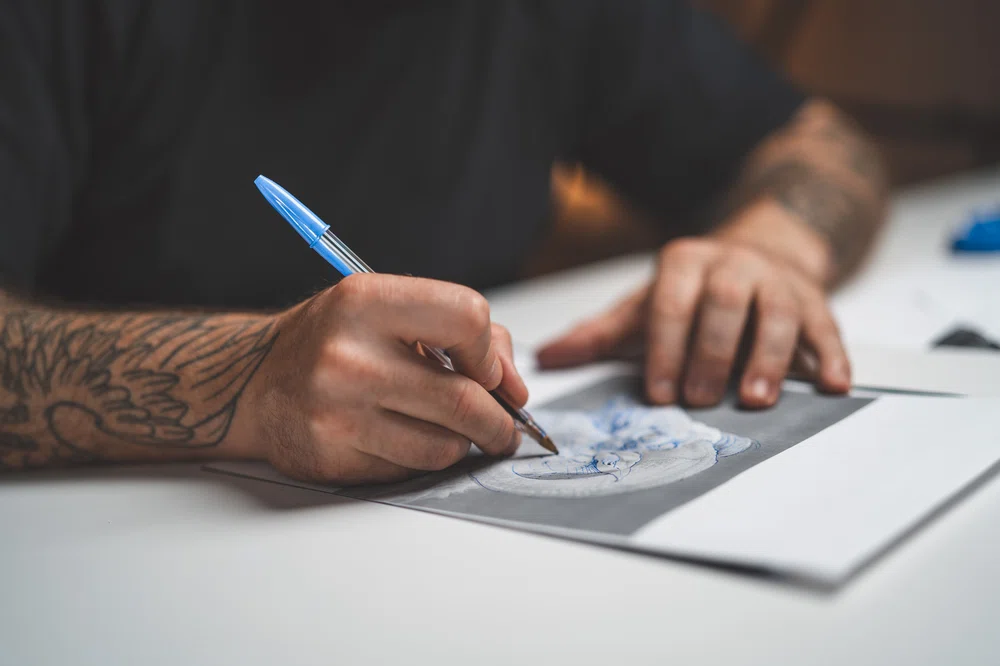
Others state that manually creating the stencil is best because it hones drawing skills, improves hand speed, and provides better control over strokes.
On the other hand, the Freehand method aids in the organic integration of the piece, but demands a high level of skill.
It’s fair to know that we also refer to 'stencil' as the liquid or gel used to adhere the design to the skin through hectographic paper. Although today, we'll focus specifically on the term concerning the template.
PROBLEMS WHEN APPLYING A TATTOO STENCIL
Stencil gel
Wrong amounts
Applying too much stencil gel may cause the design to shift or blur due to inadequate adherence to the skin.
Besides, if the gel doesn't dry properly before tattooing, it might mix with the stencil ink, affecting the clarity and precision of the design
And if you apply too little gel, the design transfer could result incomplete or weak.
In this case, it's best to clean the entire area to erase the stencil ink and start over, redoing it if necessary.
To tackle these potential issues, apply a thin and even layer of gel. Ensure it dries before placing the stencil, allowing enough time for proper skin adherence.
This may vary depending on the product. Some leave it for 20 or 30 minutes, while others leave it for less time.
With practice and experience, you'll have fewer doubts about the proper amounts.
If tattooing on synthetic skin, stencils may take longer to adhere due to its plastic and rigid nature. In this case, you can use a hairdryer to seal the gel and ink with heat.
Poor product quality
Low-quality gels affect adhesion, being too watery and not retaining ink enough to stick to the skin.
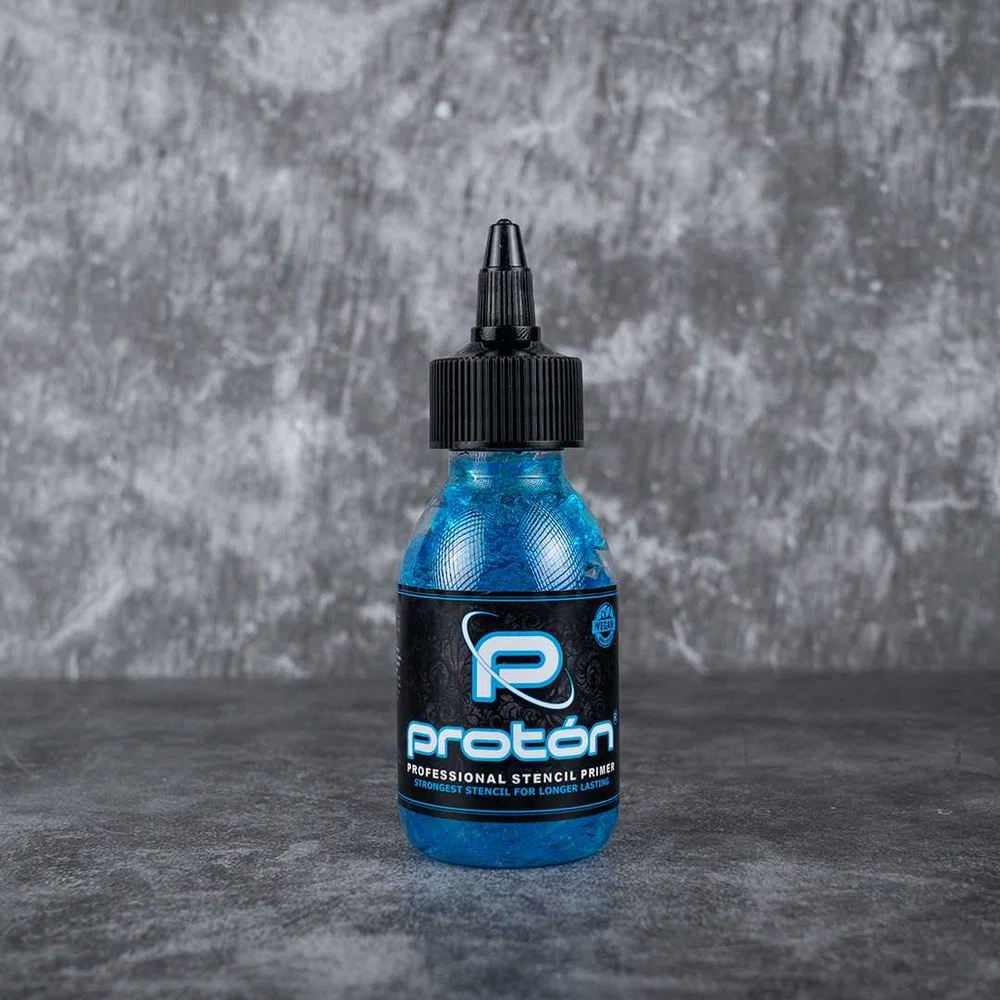
Many artists recommend the Proton brand for its formula and durability.
PRO TIP: If, even with good quality gel and correct amounts, you still notice the stencil fading more than expected, you can use a product called Spray Stuff.
It's a spray from the Stencil Stuff brand that creates a protective layer over the stencil once placed on the skin.
It's easy to use: let the transfer dry well, and before starting to tattoo, spray a bit of Spray Stuff for extra fixation. Just be cautious not to overfixate, especially on synthetic skin.
Hectographic paper
Low-quality hectographic paper, although less common, can also hinder the task.
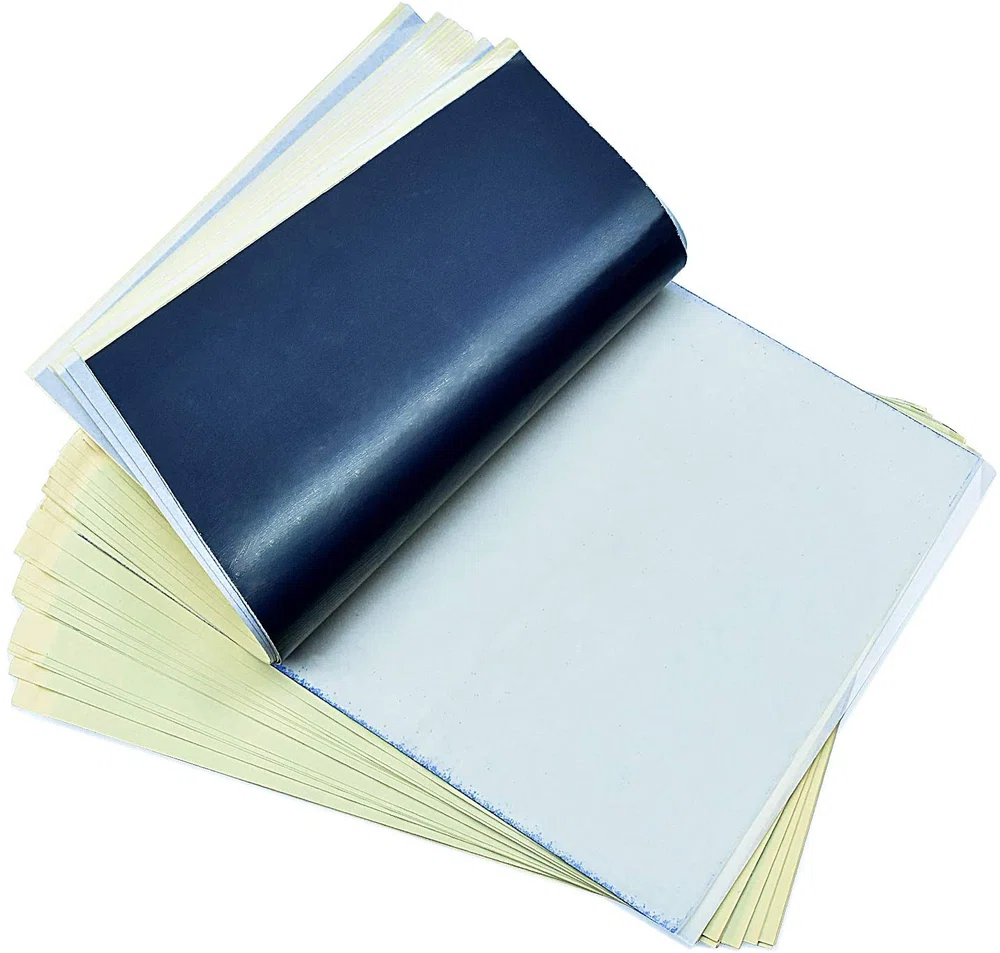
The choice of ink color on hectographic paper is crucial because if it's too light or weak, it's much more likely to fade.
For added security, opt for intense colors like dark blue or violet, and avoid light greens or turquoises.
Excessive friction
Beyond following the mentioned precautions, remember to minimize friction as much as possible.
Whether with your gloves or paper towel, the less contact with the transfer, the better.
When cleaning during the tattoo process, do it with gentle taps, avoiding excessive rubbing. Also, keep in mind that too much soap or water can wear out the inks.
SOLUTIONS FOR A FADED STENCIL
1. Don't Despair
Above all, stay calm and carefully think about your next steps.
Remember: there's always a solution.
2. Fully or partially reapply the stencil
If only a part of the stencil has faded, and you have a clear reference of the design, you can try reapplying it to the missing part.
But be extremely careful; all lines must align perfectly with the already tattooed area.
And don't forget to follow the cleaning and placement steps you executed at first.
To remove all excess and leave the skin optimal again, use soap or disinfectant. Remember to let it dry for proper fixation.
3. Help yourself with Sharpie markers
Depending on the design's complexity, you can use temporary markers to redraw lost lines or details.
Just bear in mind it's similar to FreeHand tattooing, so a broad knowledge of drawing for clean and controlled strokes, along with previous experience, is advisable.
If resorting to this method, consider the piece's complexity. Remember, the stencil is the tattoo's foundation, and sometimes it's better to reapply it from scratch, no matter how much time it takes.
4. Trace reference points
Drawing lines that cross the stencil's edge and marking them on the client's skin with a Sharpie is a great preventive step.
This way, if you have to reapply the stencil, having these reference marks will help ensure precise placement.
5. Seize your experience and skill
If you have enough experience and confidence, you can continue tattooing some parts of the design from memory, especially if you've already completed key sections that serve as a guide.
PRACTICE MAKES PERFECT
Having the stencil fade midway is a tough moment, but we've all been through it, and though it may not seem like it at first glance, it can be solved.
With time, practice, and experience, every professional gradually discovers how to prevent it.
So, don't despair if it happens; take it as a learning experience.
In the end, understanding the intricacies of the materials you work with is essential to make the most of them.
The good news is that you now have some key reasons to detect the problem before it occurs, along with some advice to address the inevitable.
And if you want to delve even deeper into tools that help you tattoo spectacular pieces, check out our intensive tattoo courses. There, you'll not only learn everything about tools and materials but also about the before, during, and after tattooing, by the hand of an experienced tattoo professional.