Do dermal tattoo patches really work?
Myths and truths about this patch
04 September 2023
Ensuring proper healing is crucial for achieving a high-quality tattoo, and the use of appropriate care products is just as vital as the materials used during the tattooing process.
In recent years, companies have been exploring new technologies to improve the healing process, including the development of skin patches specifically designed for tattoo aftercare.
Originally designed for medical purposes, these dermal patches have been increasingly used in the tattoo industry with promising results.
Despite their potential benefits, questions remain about the efficacy and potential risks associated with their use. Proper care and maintenance are also important considerations when using dermal patches for tattoo aftercare.
In this article, we will provide a comprehensive overview of dermal patches, their benefits and drawbacks, and best practices for their use.
However, we ask ourselves, are they really useful, are there any risks when using them, how should they be cared for and what should be taken into account? Keep reading to find out all about it!
General considerations about patches
The arrival of dermal patches in the world of tattooing has completely changed the way of thinking about tattoo healing.
In the article How to take care of a tattoo?, we told you all about the traditional methods of caring for tattoos throughout their healing process.
But with the incorporation of this product, the healing time can be accelerated and even guarantee better durability of the inks.
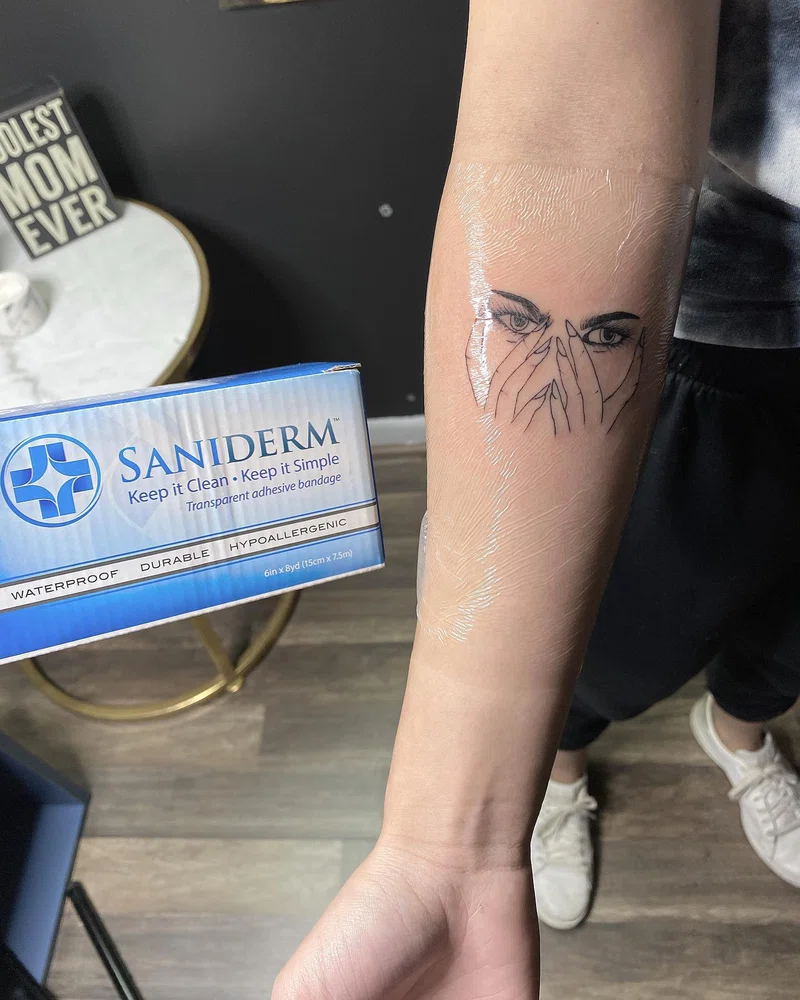
Dermal patches are designed to adhere completely to the skin, acting as a vacuum sealer that not only promotes healing but also provides a protective barrier against harmful viruses and bacteria.
What makes these patches particularly innovative is that they are permeable, allowing oxygen to penetrate while preventing bacteria from entering.
This is essential for the healing process, as a certain level of oxygen exposure is necessary for proper wound healing. However, before using dermal patches, it is important to consider some key factors.
For example, Saniderm is one of the most popular and widely used brands in the tattoo industry, although there are also other brands available, such as Unistar and Dermalize. These patches usually come in rolls, similar to plastic wrap, and can be cut to fit the size and shape of the tattoo area.
Manufacturers and dermatologists recommend using dermal patches for a maximum of 7 days to avoid potentially harmful effects and reduce the risk of infection.
After that time, the effects can be totally harmful and with risks of infections, that is why it is very important to use it only for one week.
It can be used from 5 to 7 days in total, depending on how traumatized the skin is after the session. For example, in Realistic tattoos, and more so when it comes to Color Realism, the skin is traumatized much more than with other types of tattoos.
As a result, the duration of patch use may need to be adjusted depending on the individual case. For more information on this tattoo style, check out our guide on Realistic tattoos on How to tattoo color Realism.
On the other hand, it is important to note that dermal patches are not intended to protect tattoos from the sun's harmful UV rays.
Despite a common misconception that they can provide adequate protection, it is crucial to avoid exposing a new tattoo to direct sunlight, particularly in the first few days after the tattooing process.
FAQ’s
1- How should it be placed?
The process of applying dermal patches is relatively easy. First, ensure that the area where the patch will be placed is clean and completely dry. After a tattooing session, use antiseptic foam or another disinfectant product to remove any bacteria from the area. With gloves on, thoroughly clean the area and wait for at least 30 minutes for it to dry completely.
Next, take the roll of patch material and cut it to the appropriate size.
TIP: Round off the corners to prevent the patch from peeling too easily.
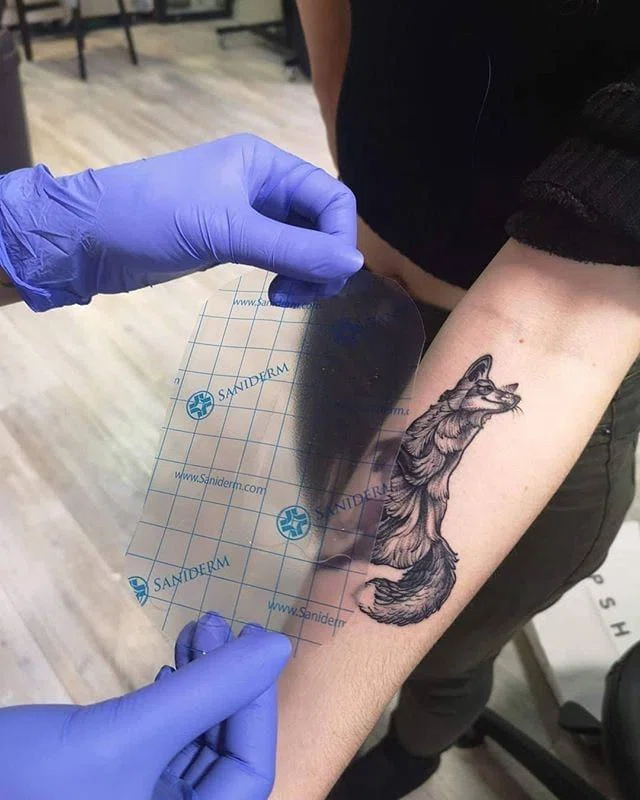
Once the patch is cut to size, change gloves to avoid contamination, and remove the protective plastic that covers the adhesive side of the patch.
The patches typically come with "fins" or tabs to help with application. Center the patch over the tattoo and remove the remaining plastic, pressing down firmly to ensure there are no air bubbles or gaps.
It is important to note that the exact application process may vary depending on the specific brand and type of dermal patch being used, so always read and follow the manufacturer's instructions carefully.
2- How should it be taken care of?
It is recommended not to do physical activity while the patch is on because this can generate more sweating and cause it to peel off prematurely. In addition, exercising stretches the tissues and this can damage the tattoo. The tattoo should not be neglected after the patch, since this product only helps to heal during the first stage of scarring.
Spending at least the first 8 hours without bathing or being in contact with water may help to prevent the adhesive from coming off.
When applying the patch, change your gloves and put on new ones to avoid contamination. Remember to expose it as little as possible to avoid contamination.
3- How to remove it?
Some people recommend removing the patch while bathing and using warm or hot water to loosen the adhesive agent.
To it from sticking to the skin or tattoo, you should wash the area with soap using gentle, circular movements. But be careful not to rub too hard to avoid causing any injuries.
4- Does the patch have to be renewed?
Although some people may think that it is not necessary, experts indicate that it is critical to remove the first patch after 24 hours. This is because the body expels plasma and excess ink that can get trapped in the patch, and these fluids can be beneficial for the first 24 hours of the healing process but can cause irritation if left trapped for longer.
To remove the first patch, it is indispensable to clean the area thoroughly, let it dry for 30 minutes, and then apply a second patch. The second patch can be kept on the skin for an additional 4 to 6 days, depending on the level of trauma to the skin. It is essential to follow the recommended timeframe of no more than a week of total patch use.
This process can be done in the studio the day after the session or taught to the client for home use. It is important to emphasize hygiene and safety when applying and changing the patches.
If any complications arise, it is recommended to consult a doctor.
Pros and cons of its use
Pros of healing with dermal patches:
- It speeds up healing times wonderfully.
- It avoids rubbing against clothes, which makes it very useful in winter when people tend to wear many clothes.
- No scab forms and therefore prevents the ink from coming out too much, resulting in more vivid colors.
- It completely avoids contact with bacteria.
- It is good for clients who aren’t used to healing a tattoo or who cannot take the necessary rest.
- It prevents the client from scratching and creating a wound on the tattoo.
Cons of healing with dermal patches:
- You can't exercise. A lot of movement, added to sweating, can cause the patch to come off.
- They are not suitable for very high temperatures. In summer, they are not recommended due to excessive sweating. The Saniderm patch indicates the ideal temperatures to use them.
- You can't swim or be exposed to water for a long time while using it.
A few complications
1- The patch comes off.
It is possible that for some reason the client's skin oozes a lot and that causes the patch to come off. This can be due to the client's skin type and skin scarring or the style of the tattoo (whether you did a lot of damage to the skin or not).
2- The tattoo looks ugly and has too much water.
Sometimes, excessive oozing can cause the patch to detach early. To prevent this, it's advisable to wait for 24 hours from the first application and observe how the skin reacts during this time.
If you notice any issues, you can remove the patch, disinfect the area, wash it with soap and water, and let it dry completely before applying a new patch.
However, keep in mind that the patch should only be used for a total of 7 days, starting from the first application to the time it's completely removed.
3- The patch causes irritation.
Typically, if you notice excessive oozing or the patch coming off, it's likely due to the tattoo releasing a lot of plasma and the patch not being changed during the 7-day period. While plasma is beneficial for healing in the first 24 hours, it can break down and have adverse effects in the following days.
To prevent this, it's recommended to remove the patch the next day and replace it with a new one.
However, irritation or itching can result from other factors, such as a lack of tolerance to the plastic adhesive. The thing is that because it is a plastic adhesive, many people may not be as tolerant and develop irritation.
Therefore, it's suggested to conduct an allergy test by applying a small piece of the patch on the client's skin and waiting for 20-30 minutes to observe any reactions.
4- The tattoo has become infected.
If you start experiencing pain, redness, or pus while wearing the patch, the first step is to check whether you've followed all of the care steps mentioned above.
If you have followed the steps with enough cautiousness when applying the material, then it could be due to either the client's carelessness (such as sun exposure, not changing the patch despite noticing excessive plasma, exercising, leaving the patch on for too many days, etc.)
So, are dermal patches good for healing tattoos?
It's worth noting that the Saniderm patches, as well as other similar products, are medically designed to protect and care for tattoo wounds, making it unlikely for the patch to be the primary cause of infection.
Which proves an essential key point: that guiding your clients on tattoo aftercare is just as important as tattooing them.
Regardless of the method you use, the responsibility to communicate each step clearly and simply is entirely yours and is strictly linked to your client's responsibility.
PRO TIP: The best way to make your clients understand the importance of paying attention to your directions is to let them know that if they don't follow them carefully, they will jeopardize the appearance of their tattoo forever.
Interested in learning how to recommend your clients about the tattoo healing process? Nothing better than learning it from an experienced tattoo artist! Coreh López teaches you in detail how he heals his tattoos in our MasterCourse: Realistic Tattooing.