How to tattoo color Realism?
Everything you need to know to tattoo this style
07 May 2024
As we always say, the realistic tattoo is one of the most complex styles.
Artists dedicated to this have years of experience and train daily to improve.
But when it comes to color Realism, things get a little more complicated. Here you not only have to know how to apply lights and shadows, but you have to master colors perfectly.
Do you want to learn how to do it? Keep reading to learn more.
The Realistic Tattoo
Realism is an excellent challenge for tattoo lovers. However, as difficult as it may seem, it is possible to achieve.
As we always say, the first and main thing is to know how to draw Realism. Without a good drawing base, it is impossible to achieve good results.
The best artists spend hours and hours practicing, and we recommend that you do the same to become a good professional. To learn more about this, read on Realistic tattoo: a demanding style, where we tell you everything you need to know to be a Realism artist.
Now, knowing how to make the stencil for a realistic tattoo is important to keep in mind.
First, you must map the image (the one you use as a reference for the design), and for this, many tattoo artists rely on digital design tools such as Procreate.
This program allows you to design tattoos from scratch and work from existing images and photographs. And believe us, in Realistic tattoos, its use is almost essential.
In any case, you can also choose other programs according to your preferences. The important thing is that you use a tool that works for you and with which you feel comfortable. To know more, read on Best Tattoo Design Applications.
Learn to master tattoo color
To tattoo Realism in color, you must study color theory.
It seems obvious, but mastering color is essential in this type of work. The challenge is to accurately represent the colors of real life and translate them into tattoos, which requires a lot of study and practice.
In addition, the canvas on which you work is not a blank sheet. On the contrary, the skins have very different tones that directly affect and transform the inks from the moment they are injected.
For that reason, you have to know the color wheel.
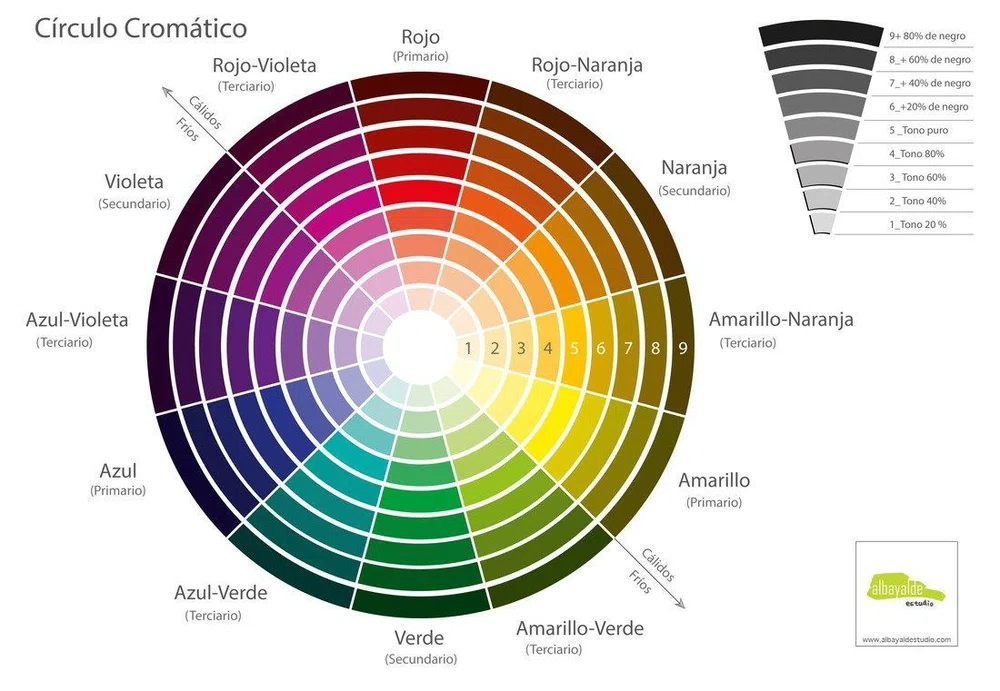
The chromatic circle is a guide with the main hues the human eye can see. These shades are called the visible color spectrum, and they are all the colors that humans can perceive.
In this circle, also called the color wheel, we can determine 12 basic shades, which are classified depending on their different combinations:
- Primary colors: Yellow, red and blue. These are determined as pure pigments, and all other colors are formed from them.
- Secondary colors: Green, orange and purple.
- Tertiary colors: Orange-yellow, orange-red, purplish-red, bluish-violet, dark green, light green.
The key to mastering color is practicing tattooing, drawing, and painting. You must dedicate much time to realistic drawing on different supports and with various materials to understand and master color.
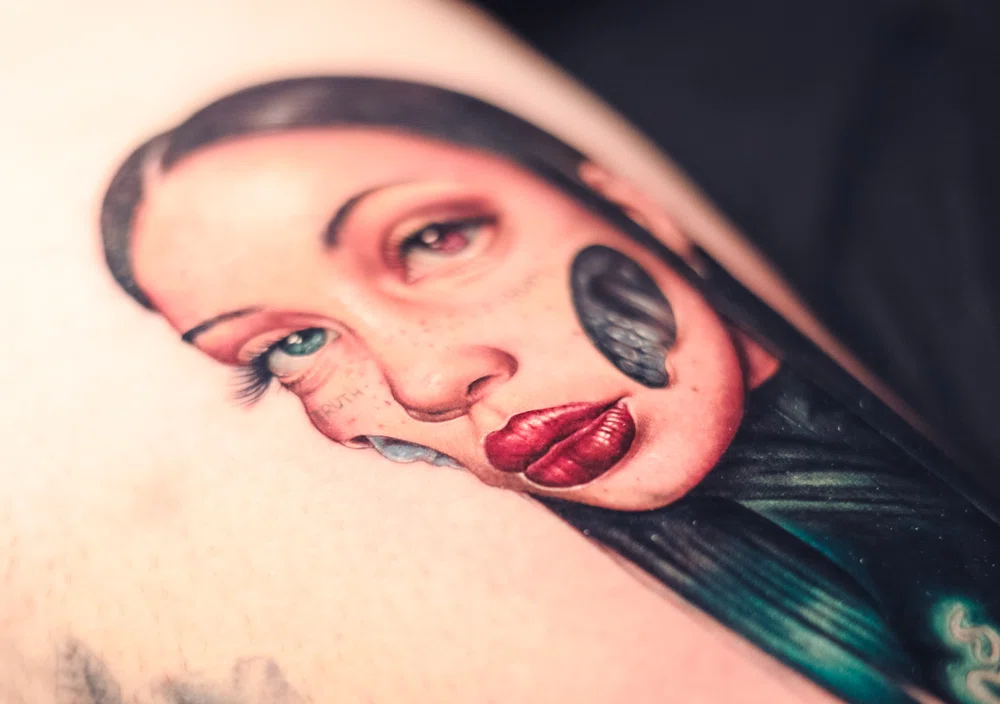
Combination of colors in Realism, what is there to know?
To begin, we must clarify something essential:
Mixing inks from different brands is not recommended.
The reason is that each manufacturer produces inks with different chemical formulas that, often, are incompatible with each other. This can generate adverse effects, from inks that do not mix well, to skin allergies, among other effects.
Always remember to use inks from the same manufacturer to avoid problems.
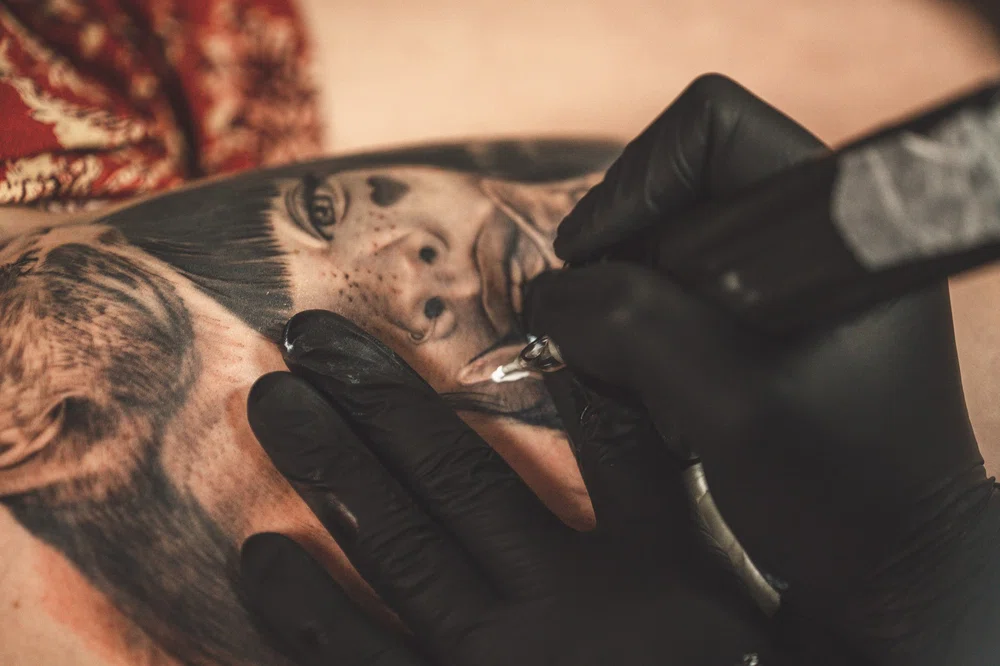
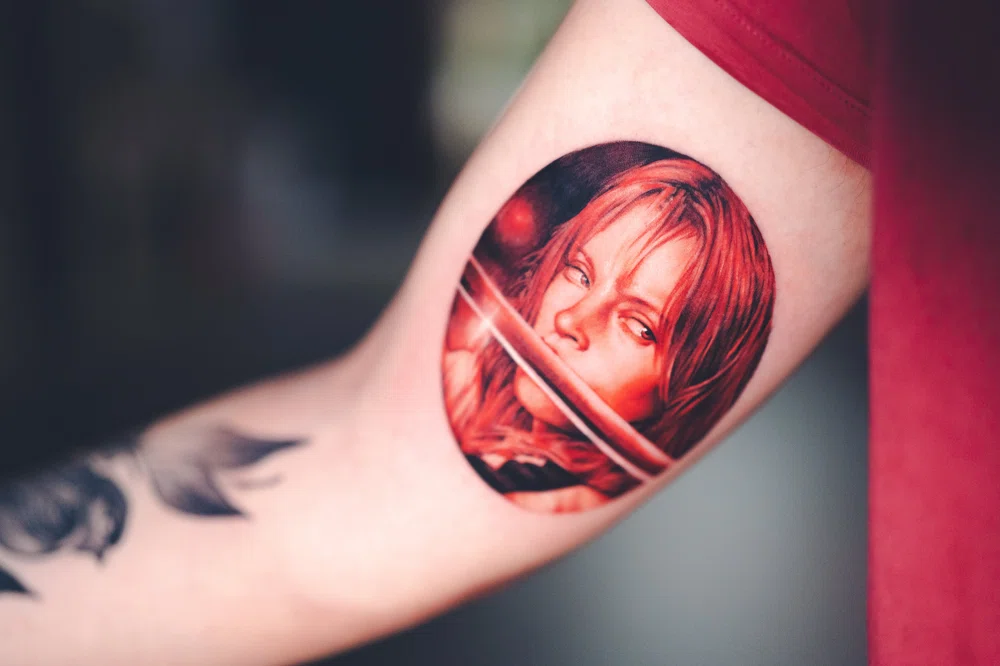
On the other hand, when you find yourself needing to tattoo realistic faces, remember that achieving a homogeneous skin tattoo is one of the most complicated tasks.
In reality, the skins do not have a uniform hue, on the contrary, their colors vary according to the areas of the body. This is why you must study the image perfectly and have a varied color palette with different shades.
To achieve a realistic effect, you must make a smooth transition between one hue and another, so there is no artificial effect. That is why practice in gradients is essential.
Tip: For better transitions, you can slightly dip the needle in water or a small amount of thinner. With this, you will make the inks have greater elasticity and can mix more naturally.
In addition, you can help yourself by decreasing the intensity and depth of the puncture little by little. In this way, you will moderate the transition until it is done in a more controlled way.
On the other hand, shadows and contrasts are fundamental in realistic tattoos. And in color Realism, to generate them, you must use their complementary tone.
In the chromatic circle, each tone corresponds to an opposite color, which is precisely “on the other side”. We will call this opposite complementary.
For example, for an orange tone, you must go to blue (its complementary opposite) to darken it little by little. In the same way, you will do it with any other tonality.
Many tattoo artists also risk combining them with black inks to generate another effect, but this is left to the taste of each tattoo artist. The exciting thing here is that you know how to interpret the colors in a “correct” way.
Tattooing Realism in color: some tips
1- The application of color.
You have to decide if you want to start tattooing dark or light shades.
In drawing, they teach us that it is much easier to start by painting the lightest tones and go darker little by little. Many tattoo artists work with this logic.
But some people think otherwise and recommend tattooing the darkest shades and then lightening them up.
When you tattoo, you generate wounds and open the pores of the skin. Therefore, if you start tattooing from light to dark, when you clean the excess ink, some small portions can be deposited in these pores, dirtying the colors.
So by going from darker to lighter, you'll make sure that light tones always come out clean. Remember to change the cartridges and clean them well to avoid contamination.
2- Skin hydration.
When tattooing, make sure the client's skin is well-hydrated.
In Realism, and especially in color Realism, it is very likely that you will make several passes over the same area. So if the skin is dehydrated, you can cause serious injuries.
To avoid this, use Vaseline or other moisturizing gels throughout the session. These products also work as a protective layer and prevent contamination between colors.
3- The choice of machines.
It is often said that coil machines generate more skin damage than rotary machines.
This may be true since coils have more power than rotary ones. Knowing how to choose the right machines and voltages is vital to avoid problems and adjust the puncture's intensity.
If you want to know more about this, read our post on Types of tattoo machines, which tells you everything
4- The needles.
Not all needles are used for tattooing color Realism.
The Magnums, for example, have a flat finish that is very useful for filling in corners or specific areas, but if you need to make curved fillings, they are impractical.
With the RS type, or cat's tongue, you can get a softer shading, but if they are used to making solid fills, holes of color can appear.
On the other hand, remember that the larger the needle, the softer the color is, and the smaller the needle, the more condensed. Click here to read a Tattoo needles guide.
Learn to tattoo with us
To accompany you in your training as a professional, 10 Masters offers you a specialized course in color Realism.
Dream of adding color to your realistic tattoos, but are too afraid of making mistakes?
Don't fret! This style is complex enough to add an extra challenge. Coreh López knows it well; after years of experimenting and refining his technique, he has developed the ideal system for adding color to his realistic pieces with the least possible risk.
Learn how to gradually apply color using 5 different techniques. A tested and improved guide by the same source: an expert in organic realistic tattooing with 13 years of experience.