Fillings are a key part of a tattoo piece, especially in larger compositions.
A 100% solid filling lacks gray tones in the case of black ink, or lighter tones in the case of color; as the goal is uniformity, without needle marks or uneven ink patches.
There are certain techniques to consider, both when filling with black and with light colors. But the materials you use for tattooing also play a role.
Let's take a detailed step-by-step look at it.
Materials for Tattooing Fillings
Machine type: Rotary or Coil?
Many ask themselves what tattoo machine is best for this task. You can use either one.
The difference is that with rotary machines, you go slower because they are generally smoother. Coil machines, on the other hand, tend to damage the skin more. So, you have to balance the machine's Give with the needle’s diameter.
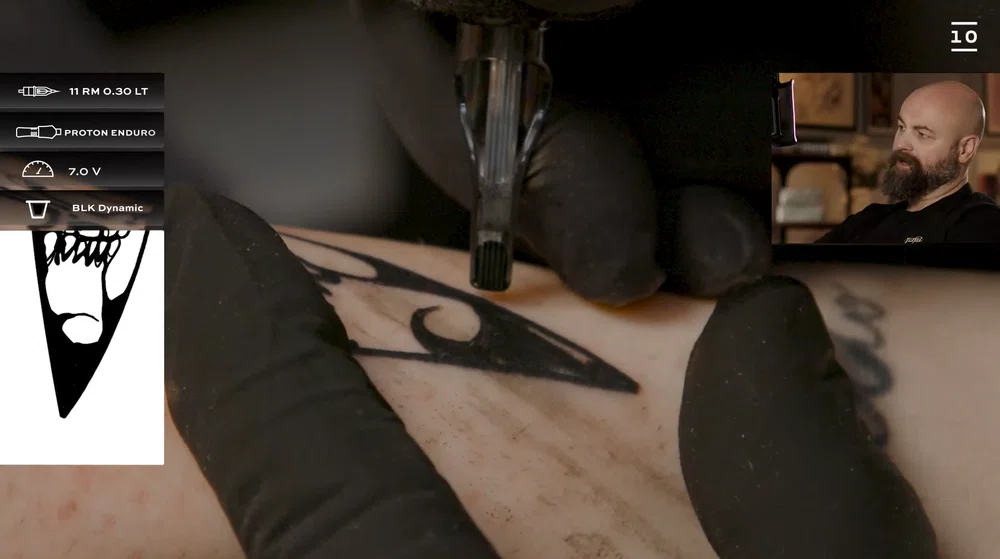
Regarding voltage, you need to lower it by one point compared to what you usually use for shading.
For instance, if you do shading at 10, you should do fillings at 9, to be able to go slower and not demand the skin as much.
Needles
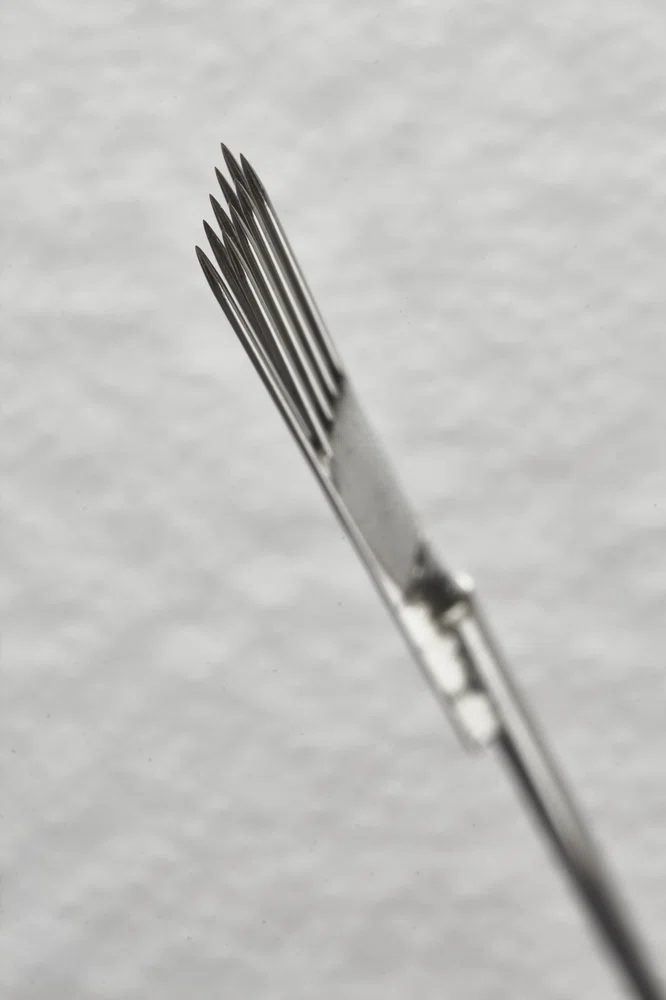
In small areas: A Round Liner may work well. For example, in very pointy ends like those of a star.
In intermediate or medium areas: Better go for a Round Shader, since it has the needles a bit spaced apart and covers larger areas more easily.
In large areas: Magnum needles in M2 config usually work better. Its two-line soldering with very little separation between them allows the ink to penetrate the skin well.
What about the diameter?
The most suitable needles for fillings are usually 0.35.
In areas where the skin is thinner, such as the inner arm, inner legs, or ribs, a 0.30 may also work fine since it fills just as fine and damages the skin less.
Should you need to delve into this vast topic, don't miss our ultimate guide to tattoo needles.
Ok, machine and needle already in hand, what's next? Don't go yet! Now comes the best part.
Tricks for Tattoo Filling
- Slow Movement
It's ideal to do it slowly and achieve a good result the first time. If you don't succeed, you can go over it again, but be careful not to overdo it! - Correct Depth
Pull the needle quite far out of the tip and press hard. A good filling should be worked deep.
How to know if it's too superficial?
When it's not 100% shiny. With black ink, it's easier to tell because it takes on a dark gray tone.
Bear in mind that if the filling looks 90% solid, once it heals, it will drop to 80%, and in months, to 70%... That's why it's so important to lay the ink well into the dermis, and it's also crucial to know the healing process of a tattoo. - Enough Ink
Don't skimp on ink when filling. The skin must be soaked.
Every time you make a stroke, clean and notice that there isn't much ink left on the tip, dip it again in the cup. - Circular Motion
It's one of the best ways to achieve a homogeneous result.
Do it slowly and steadily so that the ink gradually goes into the skin, covering one small area at a time.
IMPORTANT: If this is your first time filling in tattoos, be patient! No matter how much theory you have, when it's crunch time, practice is key. And chances are, you won't get it right the first time.
But don't worry, we have some tips to help you out...
How to Solve a Patchy Tattoo Filling?
Sometimes, some parts may end up uneven or the color may not turn out quite right. This is normal, especially for newcomers. The problem is, if you insist too much, you can damage the skin and affect the final result.
So, if you find yourself in this situation, take some precautions to avoid harming the skin.
When touching up the filling of an area, take a moment to analyze how the skin is reacting. When passing over an already tattooed area, always proceed with caution and gentleness, without pressing too much or overdoing your strokes.
Now, let's see how we can fix a weak filling and avoid a disastrous outcome:
- Try changing your movement on the second pass. For example, if you’ve pushed the ink forward the first time, opt for circular motions on the second try.
- Reduce the speed of your hand movements.
- Lower the voltage to minimize skin damage as much as possible.
- If the above doesn't work, try changing the needle. Perhaps you haven't been using the right one.
- Take the needle further out of the tip, press hard to reach the dermis, and pick up a good amount of ink. Remember, pores remain open and continue absorbing ink even after passing the needle. Make it soak!
After working on the area, clean it well to see how it's turning out.
You can try the trick of applying a little Vaseline or water to the filling to achieve a magnifying effect and ensure that each part is filling correctly. - Last but not least, if after several trials there are still visible defects, STOP AT ONCE.
Now, what if you've already messed up and caused a deep wound?
How to Address a Damaged Skin
In this case, you have no choice but to face the problem head-on.
Let the client know what happened, apologize, and explain that you made a mistake, but reassure that it's fixable.
Make it clear that now, with the fresh wound, you can't go over the same area again, but once it's fully healed, the touch-up will be on you.
Keep in mind that this particular area will take the longest to heal in the entire tattoo. That's why it's so important to monitor the process and schedule a new session to redo it when the skin is ready.
Past this event, embrace the lesson, take note for next time, and don't be so harsh on yourself, as tattooing is learned by doing, and soon you'll have more experience.
And if you haven't experienced this yet but are full of doubts and fears, don't forget that before moving on to human skin, it's ideal to practice and try everything you can on synthetic skin for tattooing.
The Best Way to Improve Your Tattooing Skills
Above all, bear in mind that learning to tattoo with as few mistakes as possible is not easy and takes time... In fact, it's impossible to tattoo without making errors, still, they are a fundamental part of your training, since they mostly teach you what NOT to do.
Either way, it's possible to minimize the learning curve.
How?
By having a good and contrasted guide by experienced tattoo artists who have already gone through the same beginner problems and who have learned by pure trial and error.
They know best what it feels like to strive day by day, tattoo by tattoo, to improve as professionals.
At 10 Masters, we know what it takes to level up as a tattoo artist, which is why we've put together everything you need in a solid collection of tricks, techniques, and methods specially designed by experts to help you excel step by step, whatever your previous knowledge.